
はじめに
Citrix ADC VPXの設定作業がうまくいかず調査することになりました。早速、仮想アプライアンスでVMware Workstation Pro上に検証環境を作ったので備忘録としてまとめておきます。
環境構築
ダウンロード
Citrixのサイトにアクセスします。
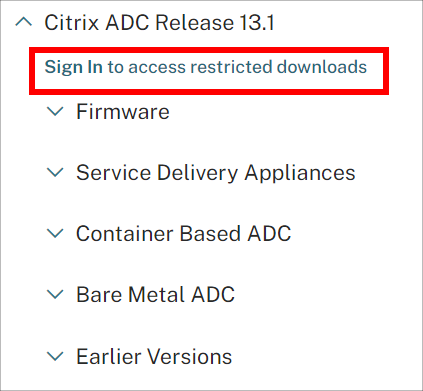
「Sign In to access restricted downloads」のリンクをクリックします。
Citrixのアカウントでサインインします。
アカウントがなければ無料で作成できますので新規作成して下さい。
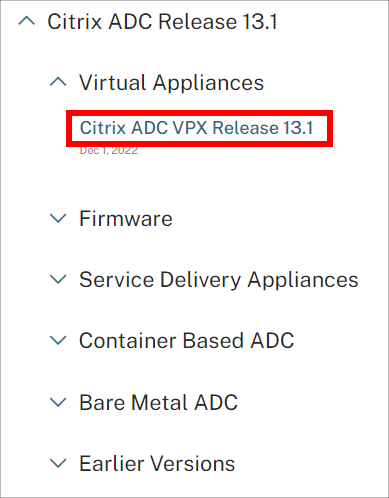
Citrixアカウントでサインイン後、「Citrix ADC VPX Release 13.1」のリンクをクリックします。
今回、VMware Workstation Pro上に環境を構築するので「Citrix ADC VPX for ESXi 13.1 Build 37.38」のファイルをダウンロードします。
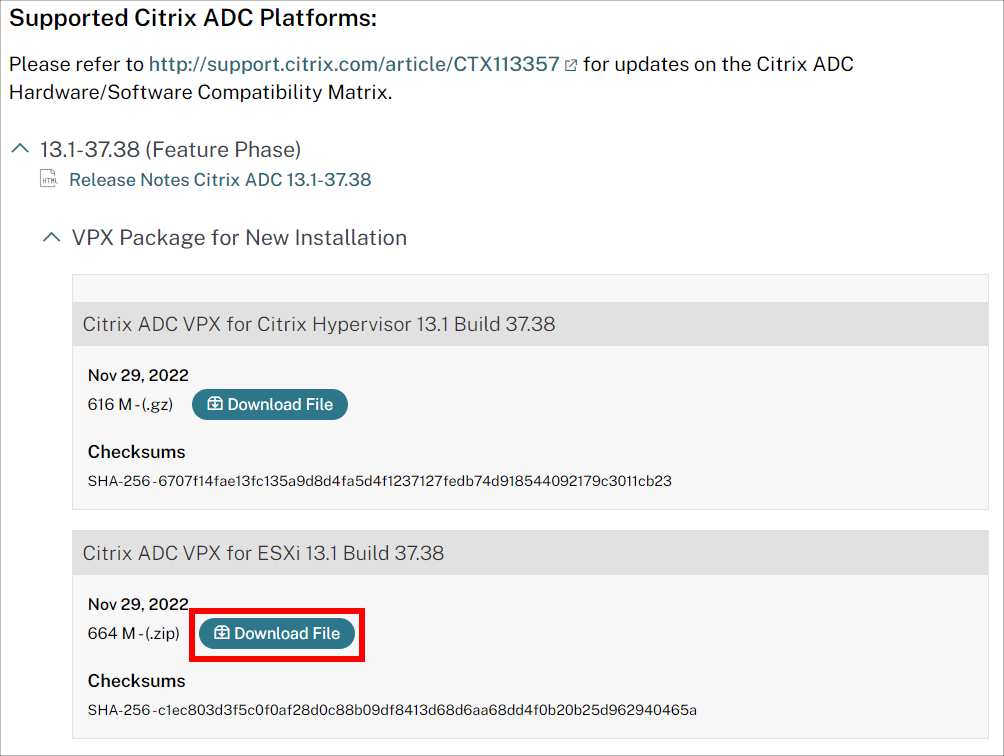
ダウンロードした「NSVPX-ESX-13.1-37.38_nc_64.zip」ファイルを解凍します。
3つのファイルが解凍できれば問題ありません。
NSVPX-ESX-13.1-37.38_nc_64.mf
NSVPX-ESX-13.1-37.38_nc_64.ovf
NSVPX-ESX-13.1-37.38_nc_64-disk1.vmdk
VMware Workstationへのデプロイ
「VMware Workstation Pro」を起動します。
メニューバーから[ファイル]-[開く]をクリックします。
「NSVPX-ESX-13.1-37.38_nc_64.ovf」ファイルを開きます。
新しい仮想マシンの情報を任意に入力し「次へ」ボタンをクリックします。
新規仮想マシンの名前:Citrix ADC VPX(13.1)
新しい仮想マシンのストレージパス:任意
「インポート」ボタンをクリックします。インポートが完了したら終了です。
VMware Workstationの設定変更
インポートした直後の設定は以下のようになっています。テストする内容を考慮しネットワークアダプタの設定を変更します。

管理人の環境ではNAT+DHCPを使用しているため、ネットワークアダプタの「ブリッジ(自動)」を「NAT」に変更します。

Citrix ADC VPXの設定
初期設定
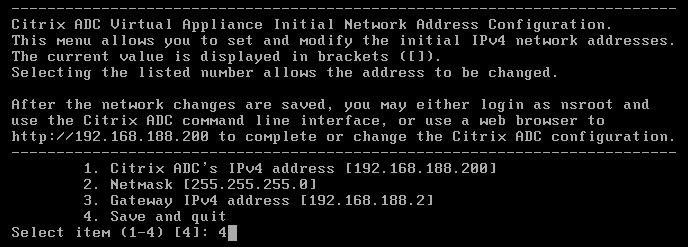
初回起動時にIP アドレス、サブネットマスク、デフォルトゲートウェイを設定します。
CLOUD: XML parsing failure
Enter Citrix ADC's IPv4 address []: 192.168.188.200
Enter Netmask []: 255.255.255.0
Enter Gateway IPv4 address []: 192.168.188.2
確認メッセージが表示されます。設定に問題なければ「4」を入力してEnterキーを押下します。
ログイン
デフォルトのユーザー名とパスワードでログインします。
パスワードの変更を求めてくるのでデフォルトのパスワードを変更します。
###############################################################################
# #
# WARNING: Access to this system is for authorized users only #
# Disconnect IMMEDIATELY if you are not an authorized user! #
# #
###############################################################################
###############################################################################
# Secure option for all the RPC nodes turns ON or OFF based on tlsv12 #
# ENABLED or DISBALED. #
# #
# If Secure option is turned ON, it secures the communication between the ADC#
# nodes in the HA, Cluster, and GSLB deployments, which use the port number #
# 3008. Unblock port number 3008 if it is blocked by firewall between ADC #
# nodes before proceeding. #
# #
# If Secure option is turned OFF, Configuration sync and propagation #
# will be done unsecured way. #
# #
# You can change this option any time using the command line #
# interface or the configuration utility. See the documentation for #
# more details. #
# #
###############################################################################
Please change the default NSROOT password.
Enter new password:
Please re-enter your password:
Done
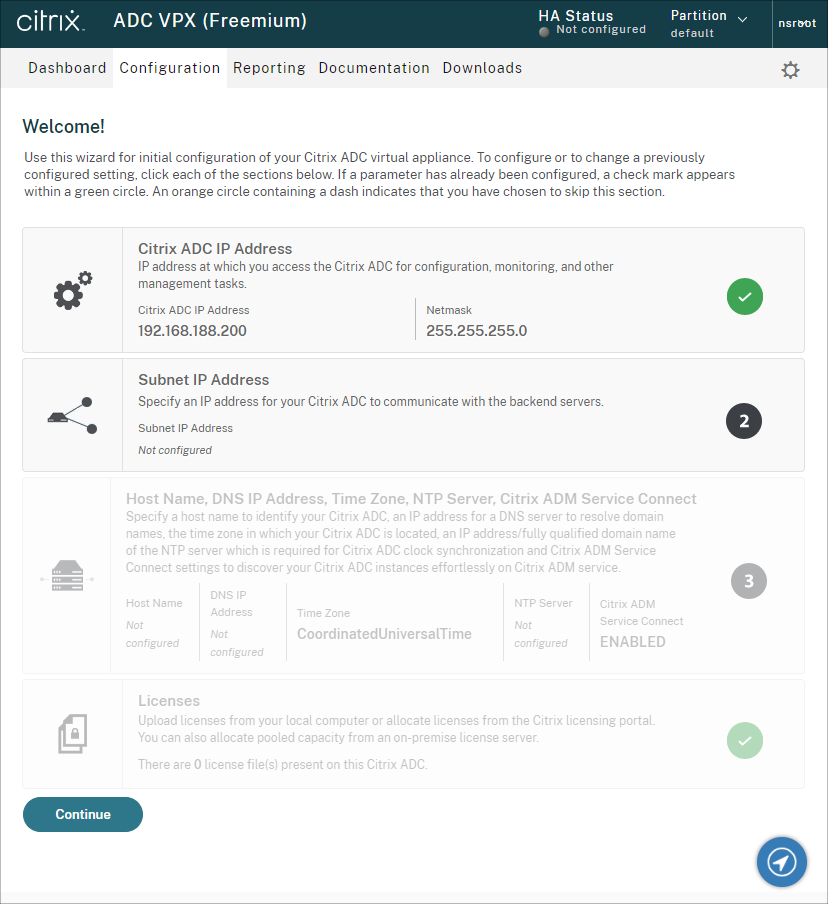
>GUIへのアクセス
ブラウザからアクセスします。
https://192.168.188.200
指定アカウントでログオンします。
User Name:nsroot
Password:変更したパスワード

ログオンできれば完了です。


コメント