はじめに
vCenter Serverのインストール手順についてまとめています。
準備物
VMware vCenter Server Appliance
公式サイトからダウンロードしておいて下さい。
手順
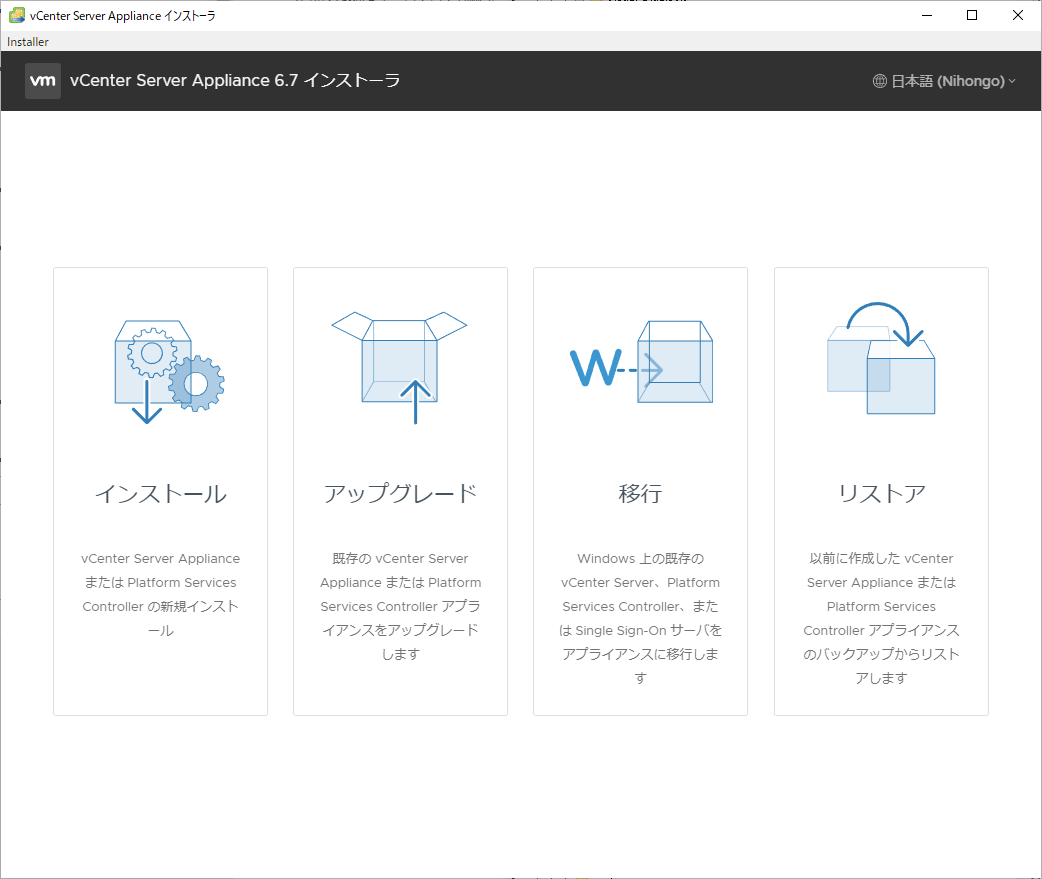
VMware vCenter Server ApplianceのISOファイルをマウントします。今回はFドライブにマウントしています。F:\vcsa-ui-installer\win32\installer.exeを実行します。
vCenter Server Applianceインストーラの画面で、「インストール」をクリックします。
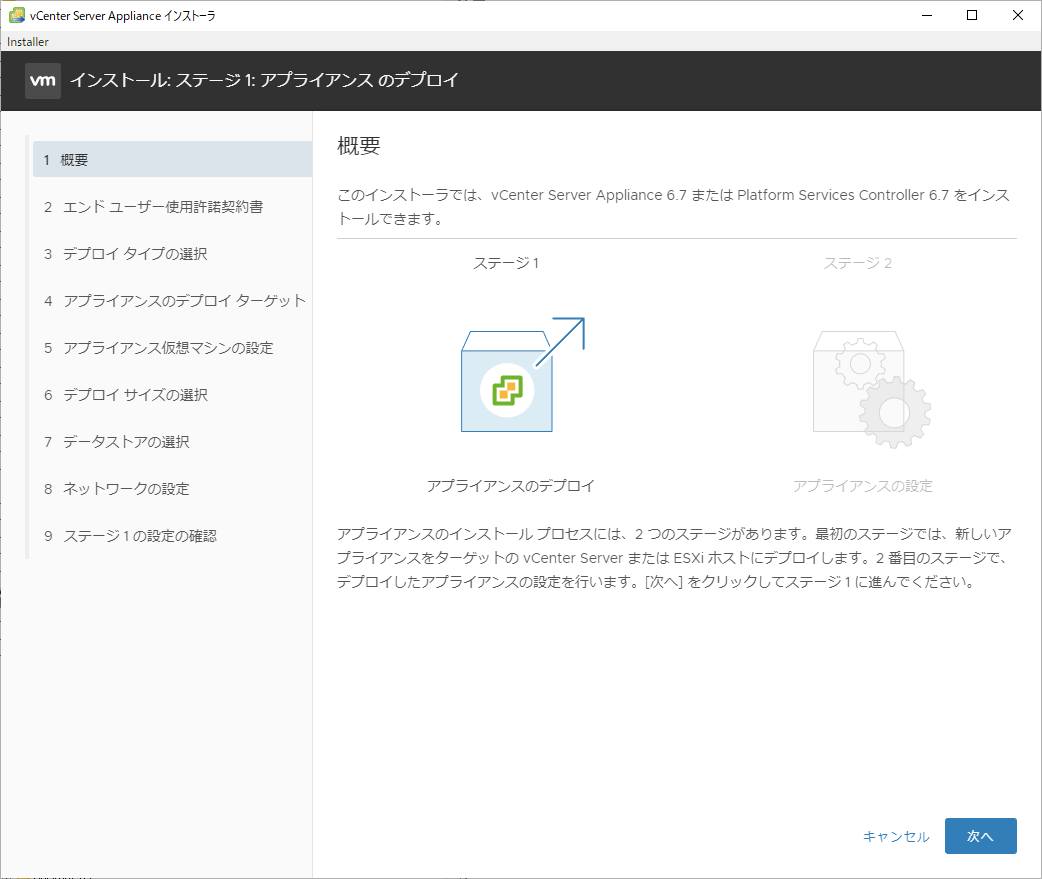
「次へ」ボタンをクリックします。
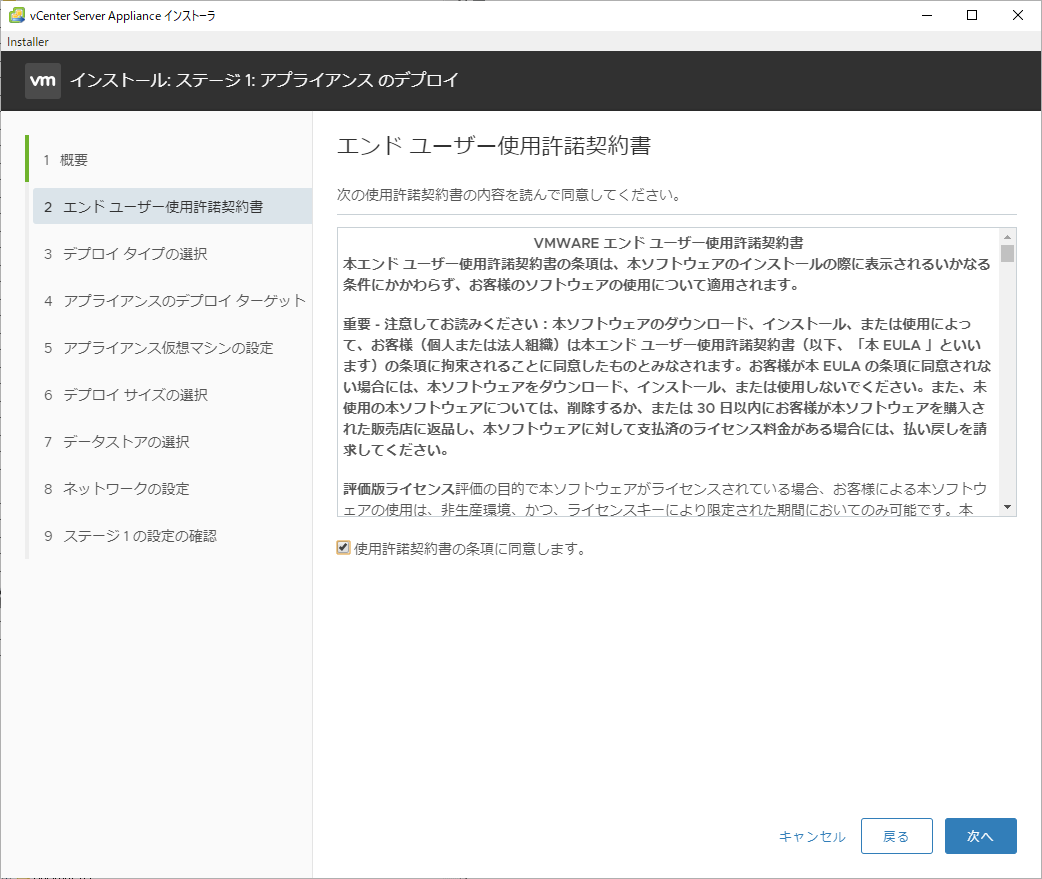
「使用許諾契約書の条項に同意します。」にチェックを入れ「次へ」ボタンをクリックします。
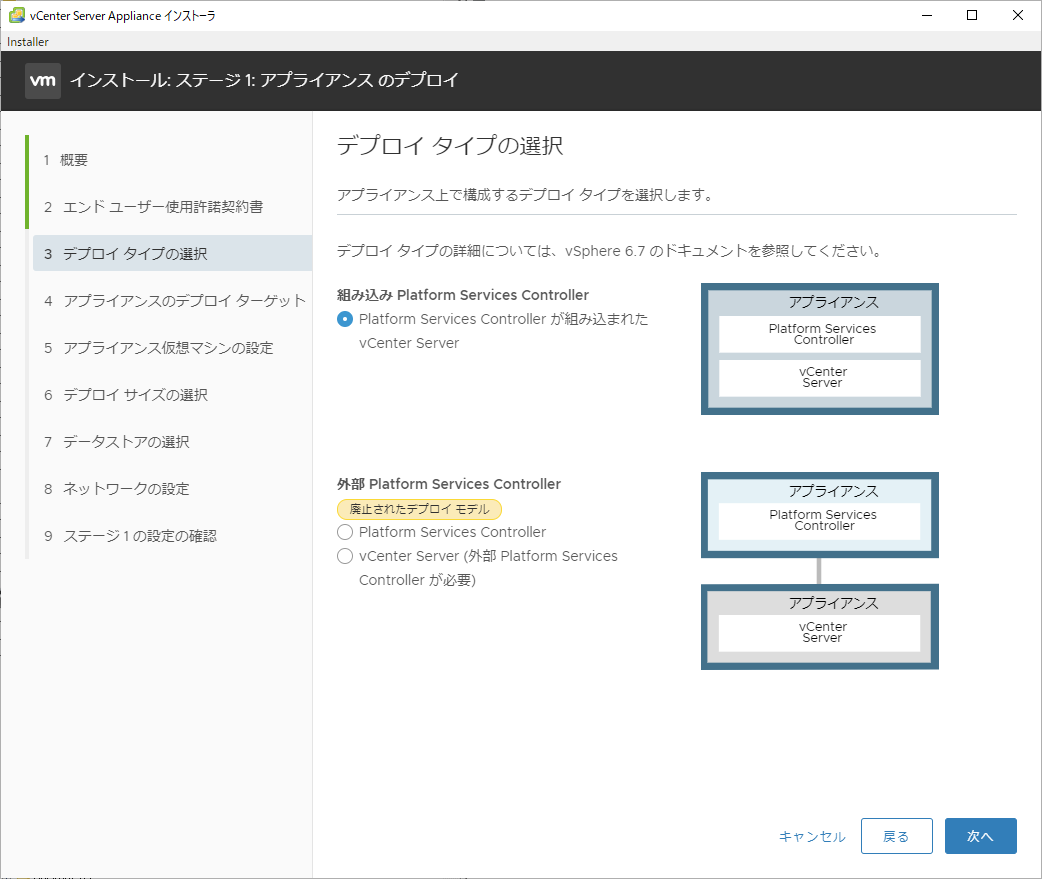
「組み込みPlatform Services Controller」にチェックを入れ「次へ」ボタンをクリックします。
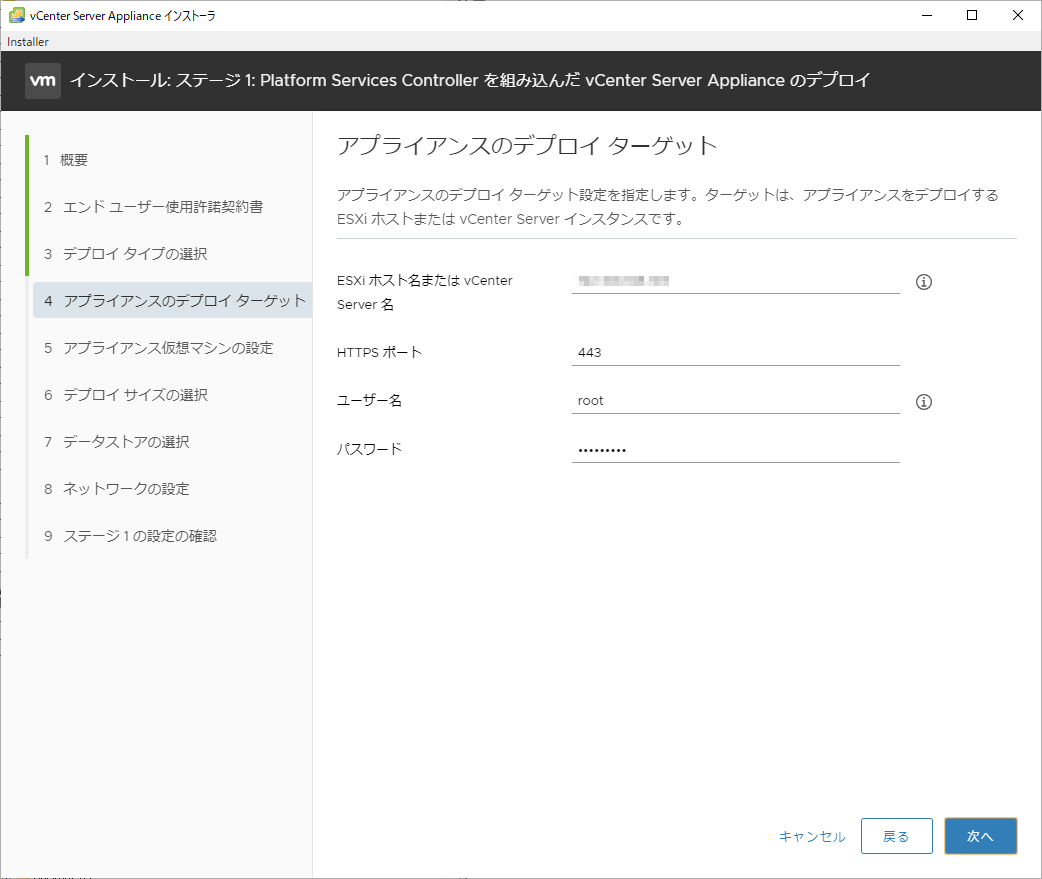
アプライアンスのデプロイ ターゲット設定を指定します。4つの項目について入力して下さい。
ESXi ホスト名または vCenter Server 名:FQDNまたはIPアドレス
HTTPS ポート:443
ユーザー名:root
パスワード:rootのパスワード
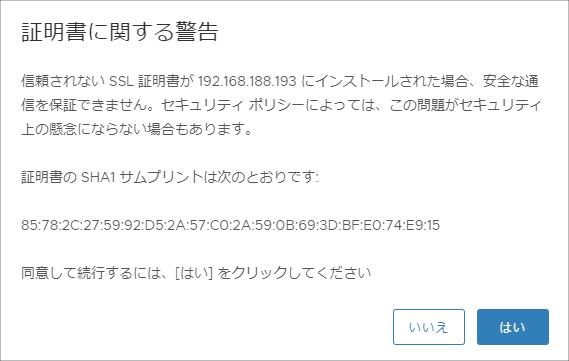
証明書に関する警告画面が表示されたら「はい」ボタンをクリックします。
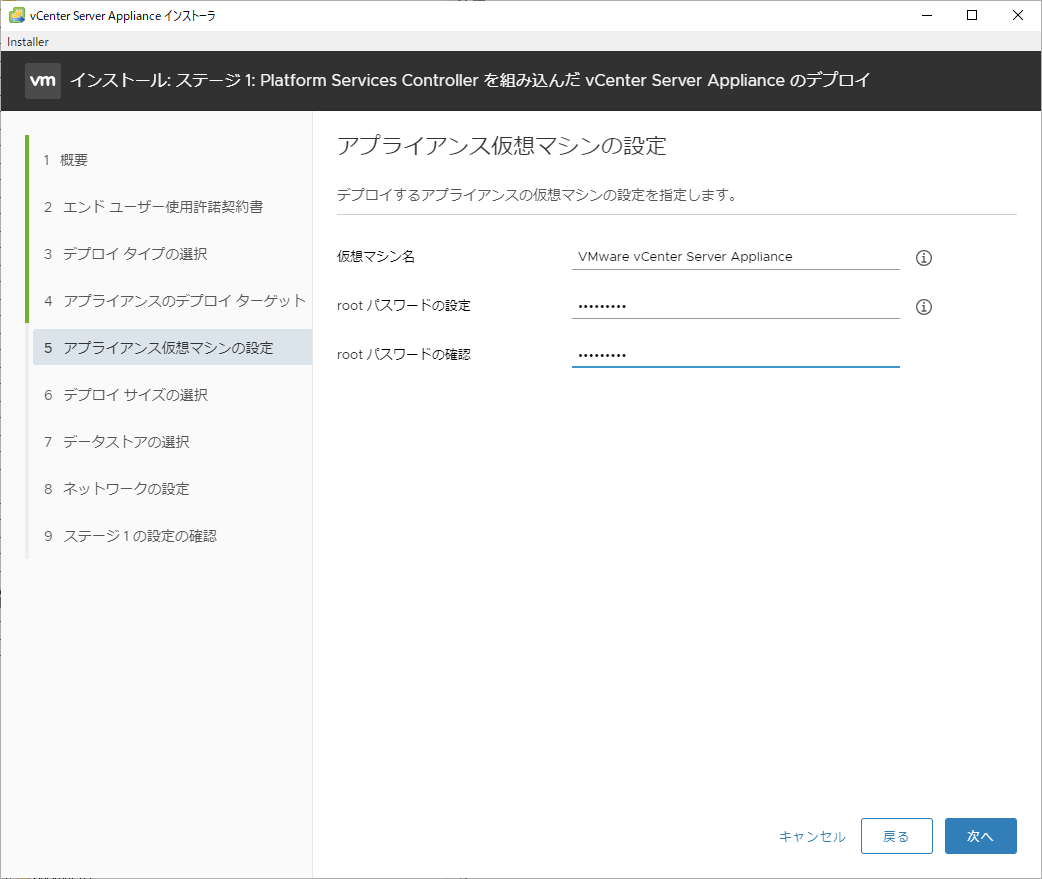
仮想マシン名とrootのパスワードを入力します。「次へ」ボタンをクリックします。
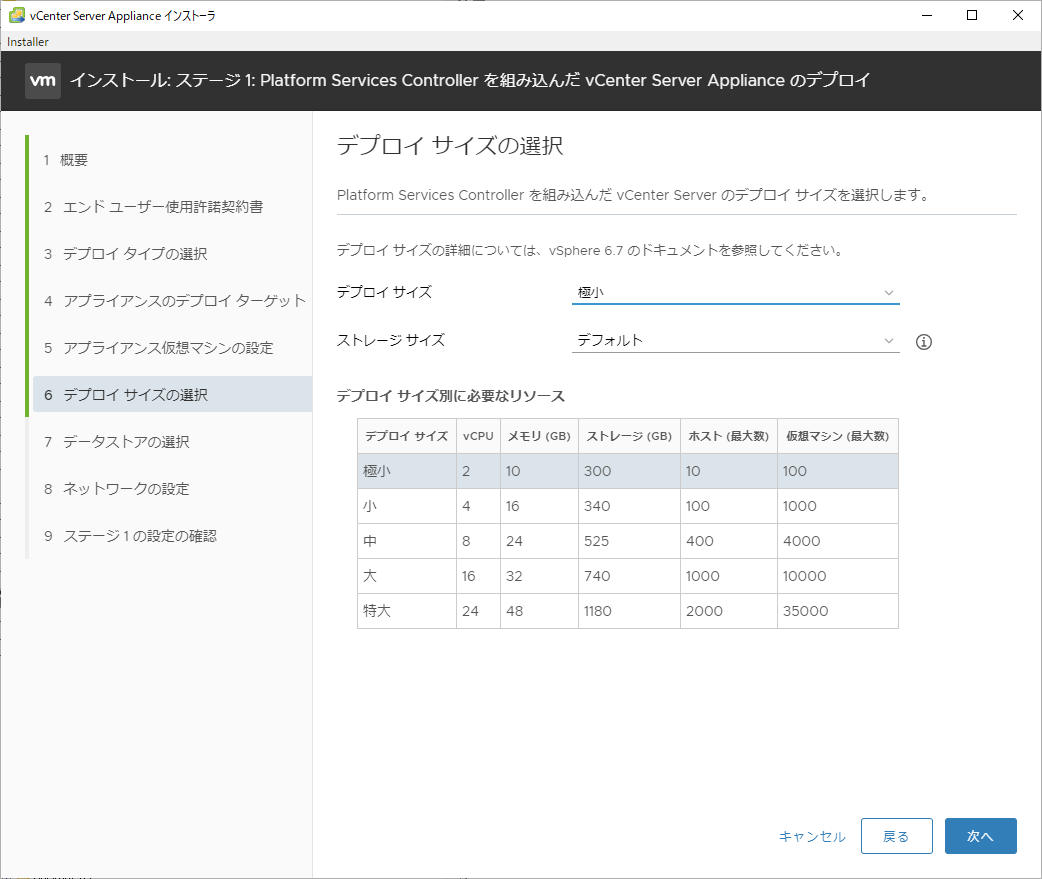
デプロイサイズとストレージサイズを任意に設定し「次へ」ボタンをクリックします。
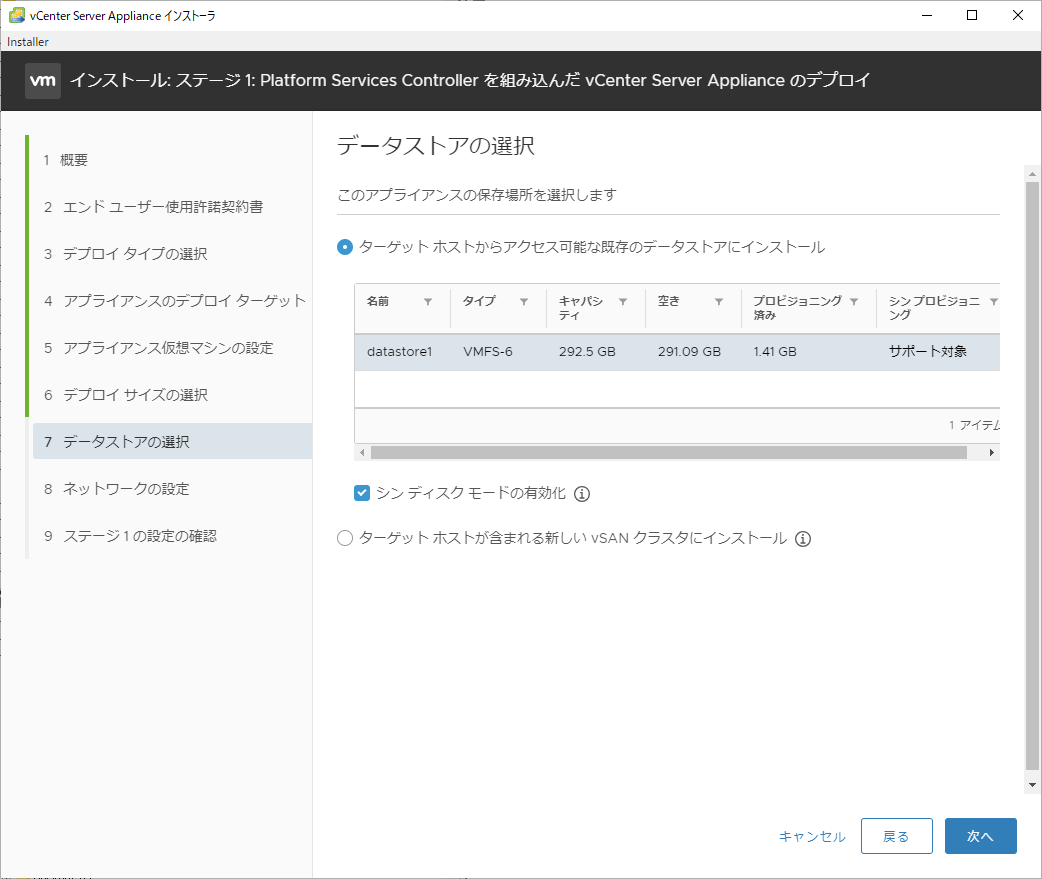
vCenter Serverをインストールするデータストアを選択します。「シンディスクモードの有効化」にチェックを入れ「次へ」ボタンをクリックします。
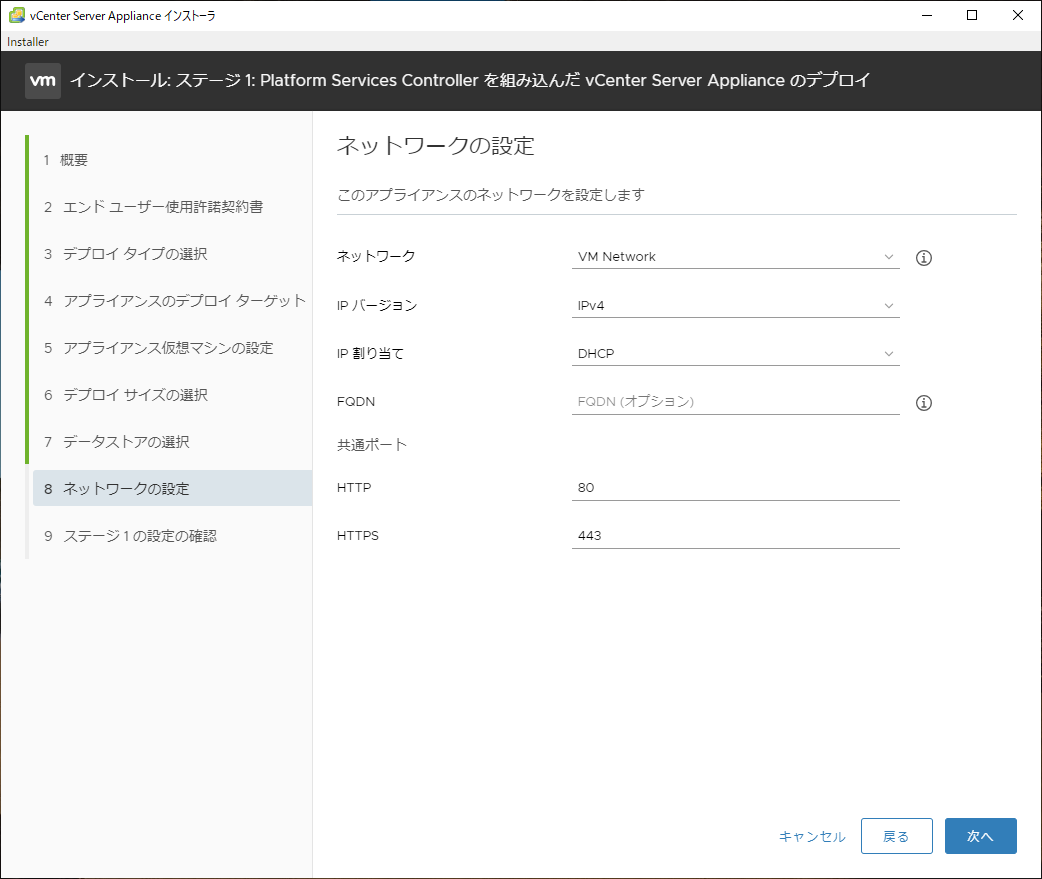
「IP割り当て」は環境に合わせて任意に設定して下さい。ここでは「固定」から「DHCP」に変更します。「次へ」ボタンをクリックします。
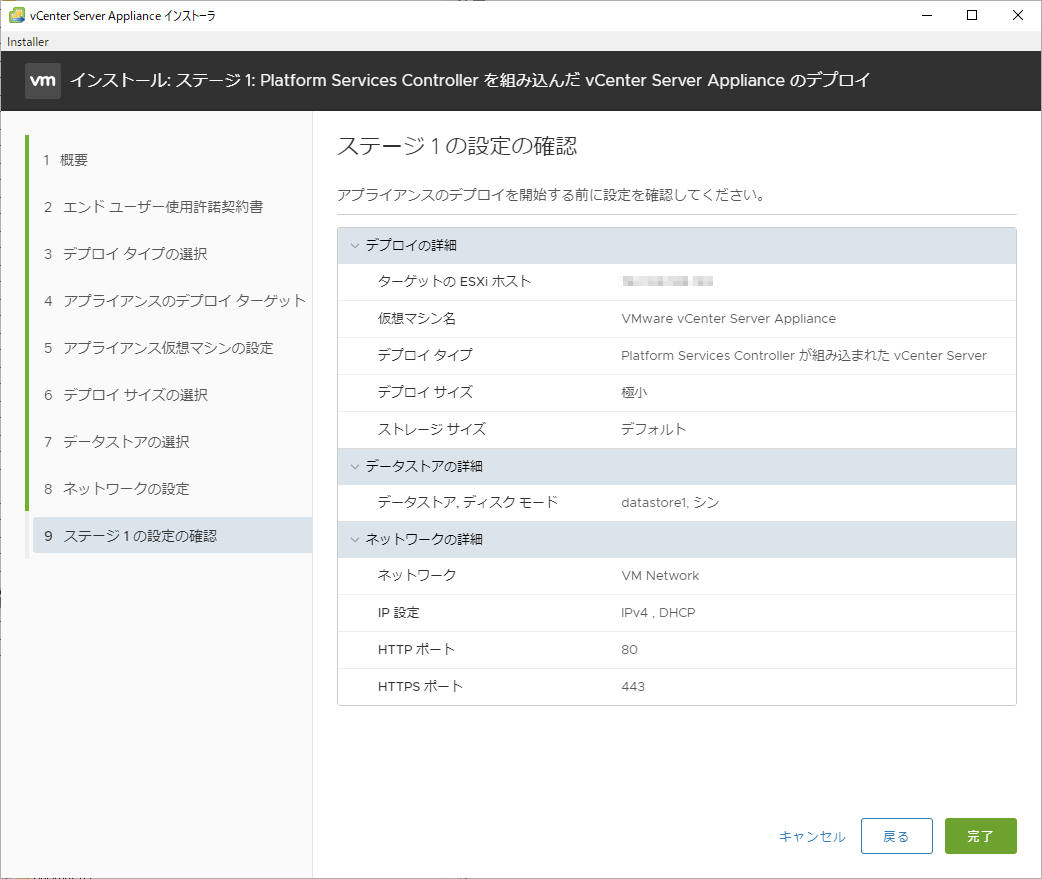
設定の確認画面が表示されます。問題なければ「完了」ボタンをクリックします。
インストールが開始されるので完了まで待ちます。

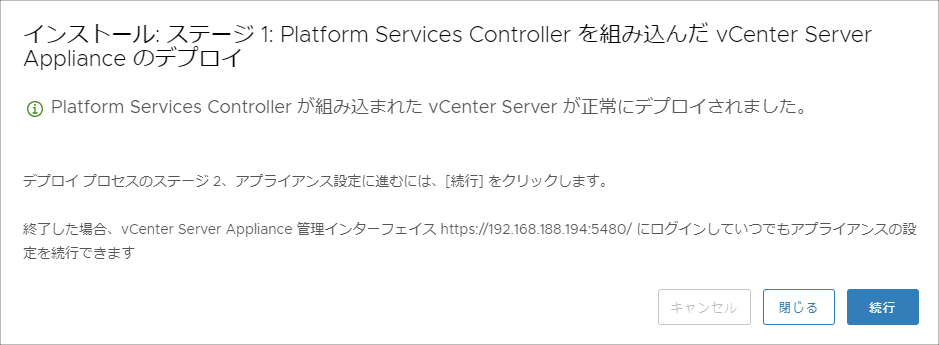
Applianceのデプロイが完了したらアプライアンスの設定に進みます。「続行」ボタンをクリックします。
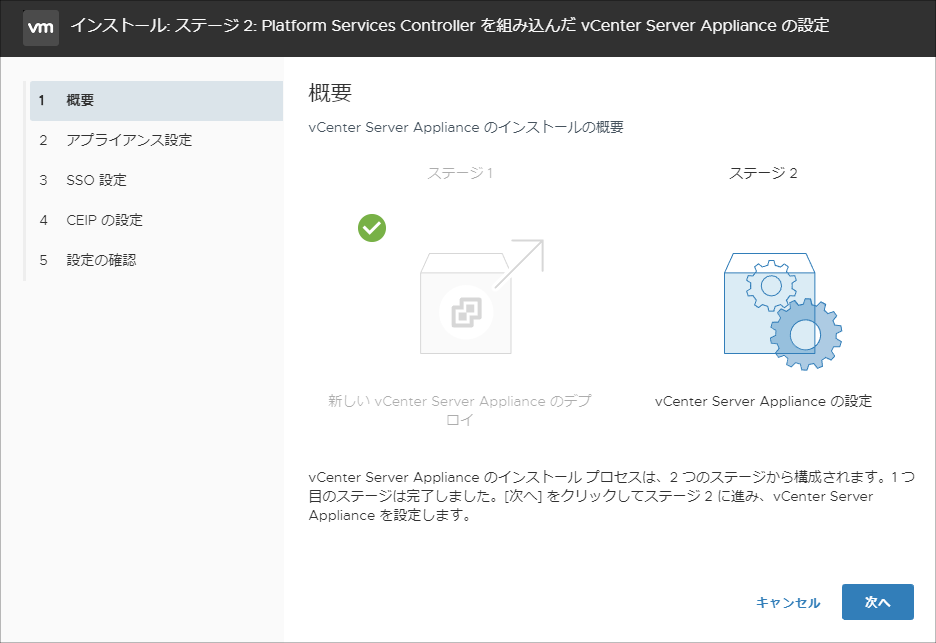
vCenter Server Applianceの設定をします。「次へ」ボタンをクリックします。
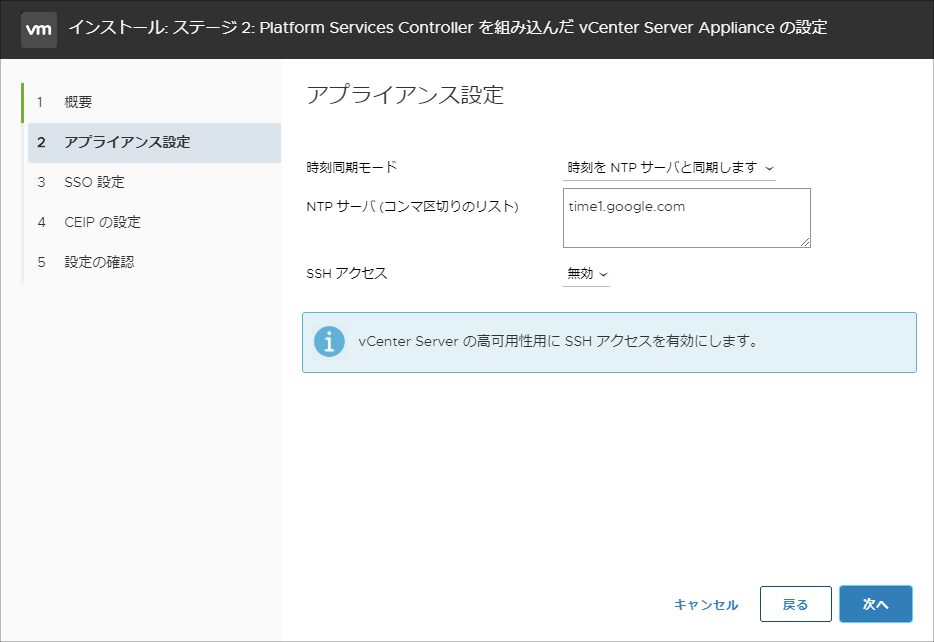
アプライアンス設定を実施します。
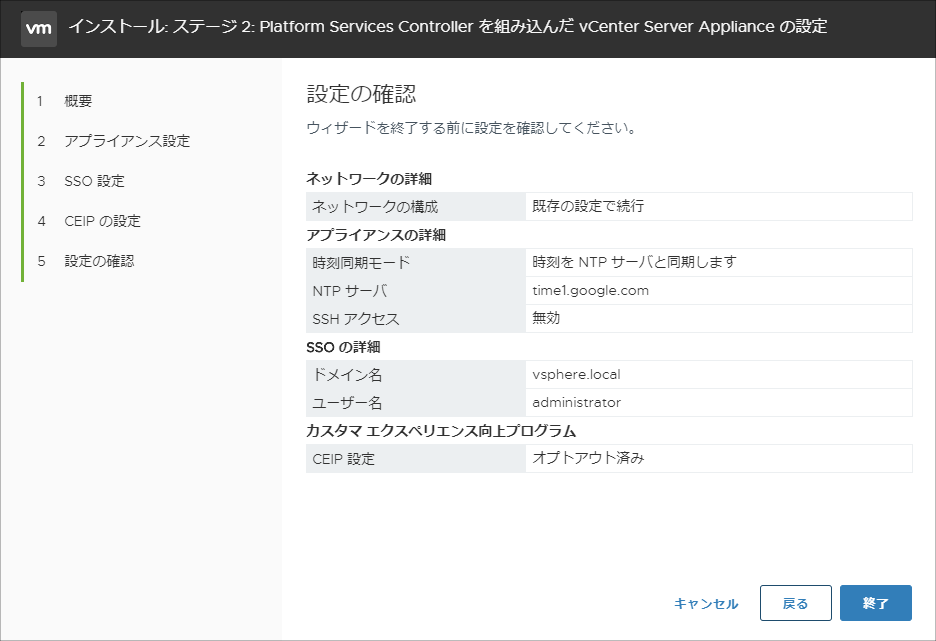
時刻同期モード:時刻をNTPサーバと同期します
NTPサーバ:time1.google.com
SSHアクセス:無効
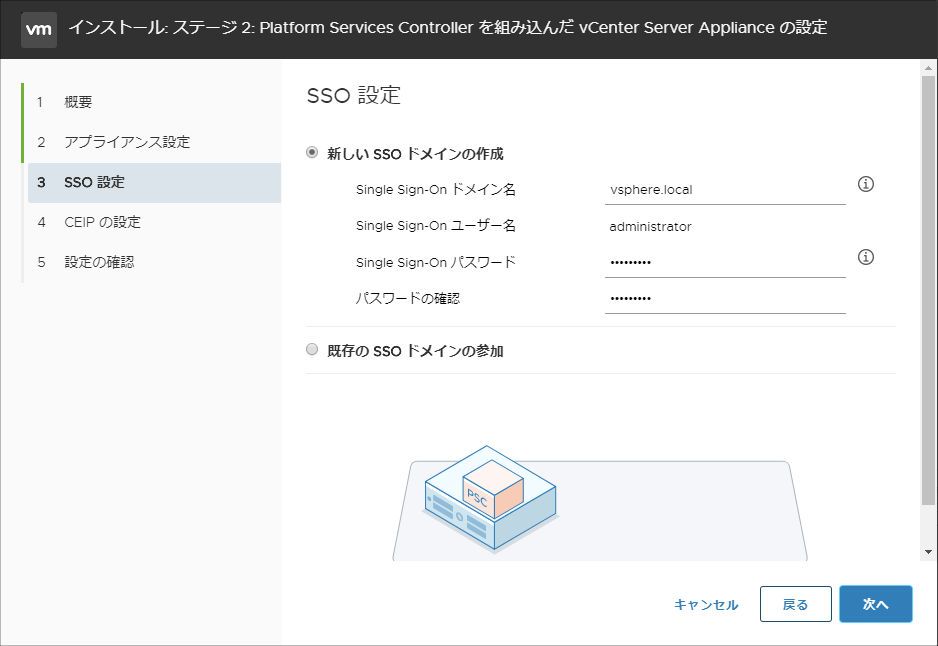
SSO設定を実施します。環境に合わせて任意に設定して下さい。
Single Sign-On ドメイン名:vsphere.local
Single Sign-On ユーザー名:administrator
Single Sign-On パスワード:任意のパスワード
パスワードの確認:任意のパスワード
「VMwareカスタマエクスペリエンス向上プログラム(CEIP)に参加する」のチェックを外し「次へ」ボタンをクリックします。

設定の確認画面が表示されます。問題なければ「終了」ボタンをクリックします。
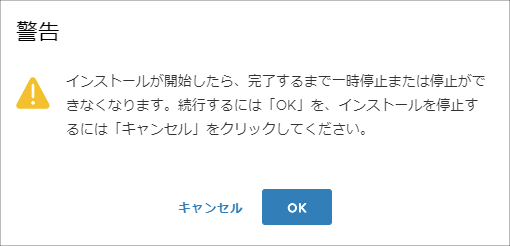
警告画面が表示されたら「OK」ボタンをクリックします。
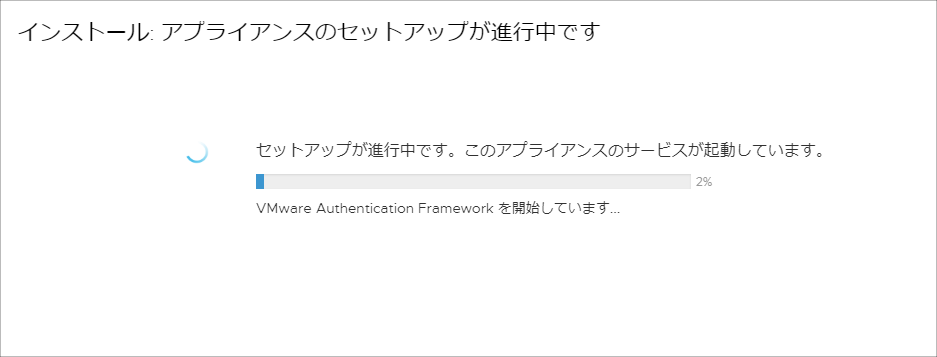
アプライアンスのセットアップが完了するまで待ちます。
完了画面が表示されたら「閉じる」ボタンをクリックします。
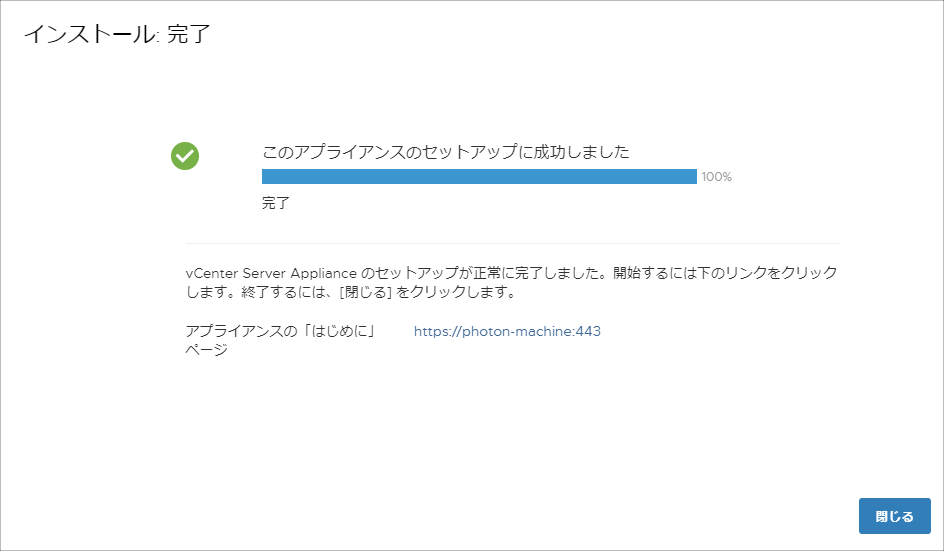
以上で完了です。

コメント