
はじめに
CentOS8のインストール手順についてまとめています。
環境
- VirtualBox 6.1.4
- CentOS 8.1.1911
手順
CentOSの公式サイトからISOファイルをダウンロードします。
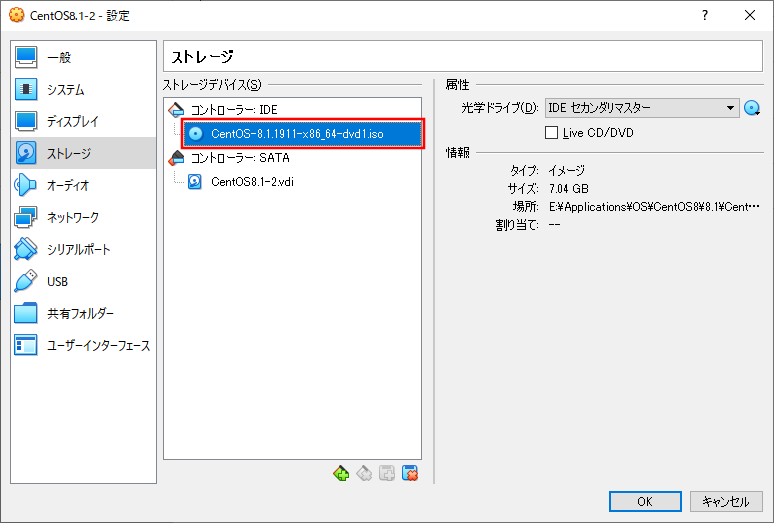
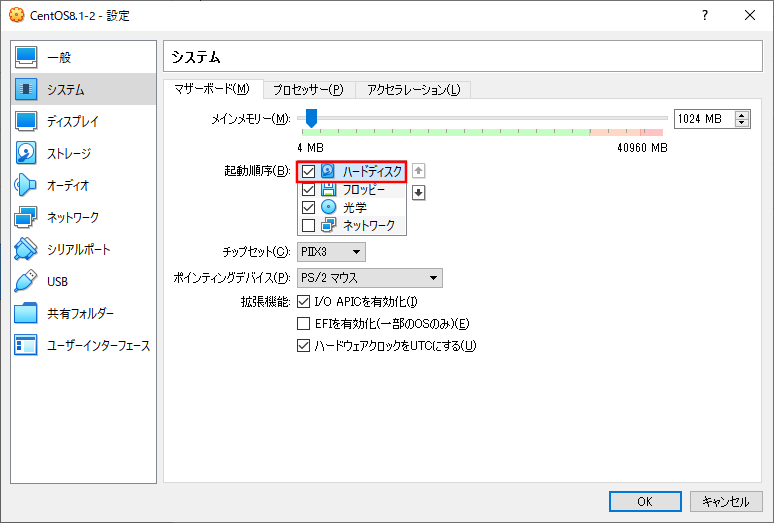
VirtualBoxで新規に仮想マシンを作成します。ISOファイルのセットとデバイスの起動順番を変更します。
CentOS Linux 8の画面が表示されたら、「Install CentOS Linux 8」を選択してEnterキーを押下します。

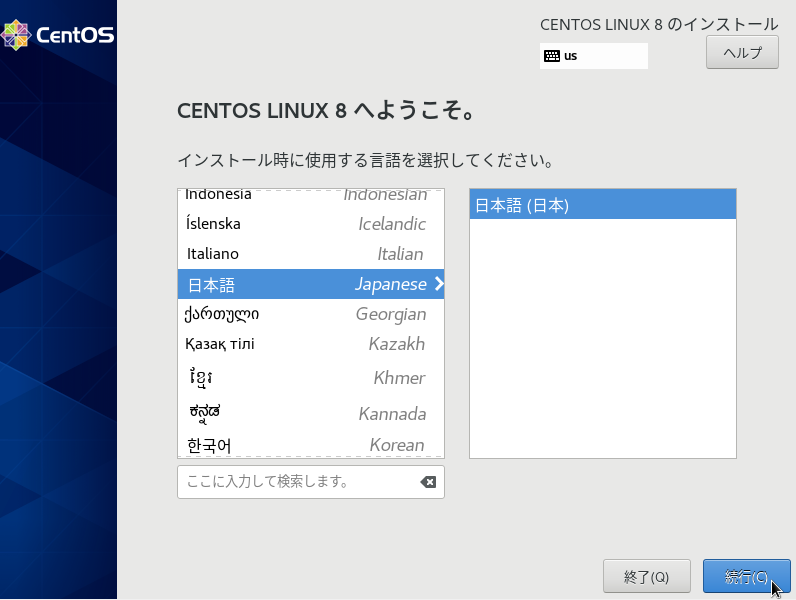
言語は日本語を選択します。
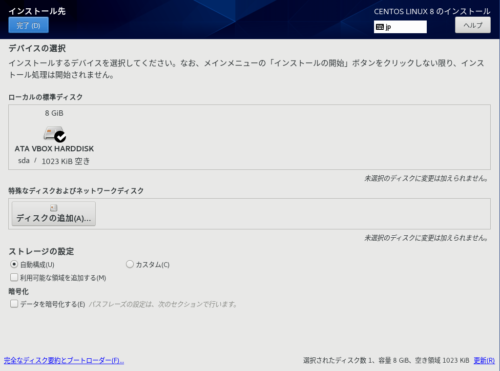
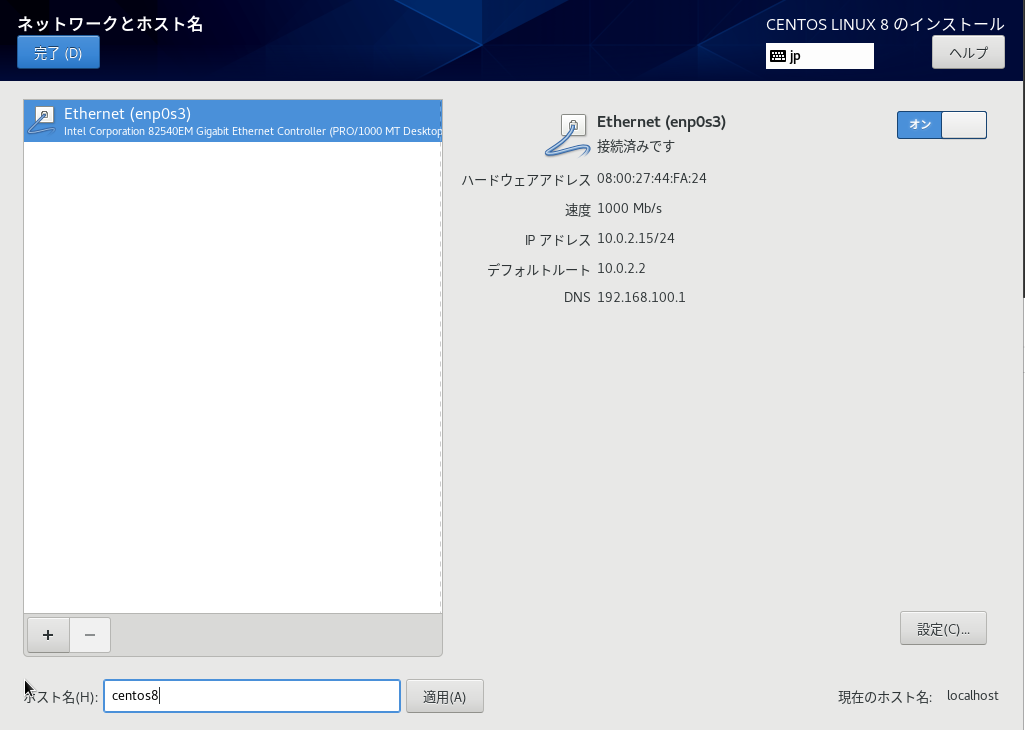
インストールの概要画面では、「インストール先」、「ネットワークとホスト名」、「時刻と日付」を設定し、「インストールの開始」ボタンをクリックします。
【インストール先】
【ネットワークとホスト名】
【時刻と日付】

インストールが開始されたら、「rootパスワード」と「ユーザーの作成」を実施します。

インストールが完了したら再起動ボタンをクリックして完了です。